
 Business License

Complete Guide to Replacing the Belt on a Cummins 4BTA3.9-100
Last week, the nearly 8-year-old excavator on the construction site started screeching after only half an hour of work. Opening the hood, I found several deep cracks on the inside of the belt. If I had arrived two hours later, it probably would have broken down halfway through the job, and might even have boiled over. Having worked in machine repair for almost 12 years, I've disassembled at least 80 to 100 Cummins 4BTA3.9 excavators. Many newbies I know have gone through a lot of trouble replacing this belt, either experiencing misalignment and abnormal noises after installation, or it cracking within two months. Today, I'm writing down the complete steps I've learned from my own mistakes—all practical advice, no clichés.
Don't rush to disassemble it! These 3 things are essential before you start working on it. Many people immediately grab a wrench and pry open the tensioner, only to find a host of problems after installation. I always do these three steps before starting, which saves me at least half the trouble:
First, confirm the model. The 4BTA3.9 comes standard with a 7PK1700 multi-ribbed belt. Don't just measure the length of the old belt; make sure to count the number of inner ribs. A 7-groove belt should never be forced onto an 8-groove pulley.
Second, inspect all pulleys. Manually rotate each of the water pump pulley, alternator pulley, and tensioner pulley. If any of them are stiff or have more than 1mm of clearance, replace them immediately.
Third, place a piece of cardboard or an old towel under the engine beforehand. This prevents dirt, sand, and old belt debris from falling into the cooling vents, saving a lot of cleaning time later.
Hands-on Disassembly: No need to remove the heatsink, two people can remove the old belt in 15 minutes
1. First, loosen the two M8 bolts on the lower part of the fan shroud. Don't remove it completely; just let it slide down to create space to reach the belt. This step is crucial; many people get stuck here and struggle to remove the belt.
2. Find a 12x12mm square-head wrench and place it on the square hole of the tensioner pulley. Slowly pry counter-clockwise. Be sure to use a lever here. The original tensioner pulley spring is very strong; don't try to pry it open with your hands. When prying, don't face the belt; if it slips and springs back, it can easily scratch your hand.
3. After the belt has completely loosened, first pry it out of the water pump impeller groove. Don't pull out the remaining part all at once. Tuck one end of the belt behind the cover along the gap in the fan blades. With your other hand, slowly turn the fan blades. After tucking it in half a turn, gradually pull the remaining part out along the gap. Don't touch the fan blade fixing screws throughout the process. It should only take two or three minutes to remove the old belt completely. If the old belt has broken completely in two, it's even easier; simply pull the broken pieces out along the gap. Don't use a screwdriver to pry the pulley, as this can easily scrape off the galvanized layer, causing the new belt to wear out much faster.
New Belt Installation: 3 Common Mistakes – 90% of People Get This Wrong
A. First, follow the path you just created, reversing the direction from behind the fan shroud back to the front. Don't twist the belt; the weft teeth should face the pulley groove. Don't just slide it on by feel; first, check the pulley's direction to ensure there's no tightness.
B. First, attach the belt to the crankshaft pulley, generator pulley, fan pulley, and tensioner pulley, leaving the water pump pulley slot empty. Then, use a wrench to loosen the tensioner pulley to its loosest position. Securely insert this last section of belt into the water pump pulley groove. When releasing, don't release the wrench abruptly; slowly allow the tensioner pulley's spring to tighten the belt. Releasing it abruptly can easily break a piece of the belt tooth.
C. The most crucial step: Use your thumb to press down on the longest span between the two pulleys of the belt with approximately 30N of force. A 6-8mm indentation indicates the correct tension. If it depresses more than 12mm, it's too loose and will slip and squeal during operation. If you can't press it down at all, it's too tight, and the bearing will break within a week. I always test it two or three times after each replacement until it feels just right.
Finally, a reminder: Check the belt on this 4BTA3.9 every 500 hours. If you find more than three cracks within 10cm on the side, or if the rubber on the back is starting to flake and expose the fibers, don't wait until it breaks on the road to replace it. A broken belt on a construction site in the middle of nowhere can cost as much as three new belts in terms of roadside assistance. Don't just throw spare belts in the toolbox; find a cool, dry place to lay them flat. Don't fold them and hang them on the wall; belts with creases will break at those creases after a short time. There are no fancy tricks to working in the machine repair business. It's just about paying attention to a few small details that others might miss. Avoiding pitfalls can save you a lot of money.
Recently Posted
-
Does the Doosan D34P Diesel Engine require special ventilation during operation?
August 4, 2026As a supplier of the Doosan D34P Diesel Engine, I am often asked various technical questions, and one of the most frequently asked Read More
 -
Cummins 6CT8.3 Power Upgrade Guide
August 4, 2026As a veteran operator with many years of experience in the construction equipment industry, I've seen far too many excavators Read More
 -
What is the piston ring gap in a Komatsu diesel engine?
July 24, 2026Hey there! As a supplier of Komatsu diesel engines, I often get asked about various technical aspects of these engines. One questi Read More
 -
What brand makes good Deutz engine oil pumps?
July 17, 2026When it comes to Deutz engines, the oil pump is a critical component that ensures proper lubrication and smooth operation. As a De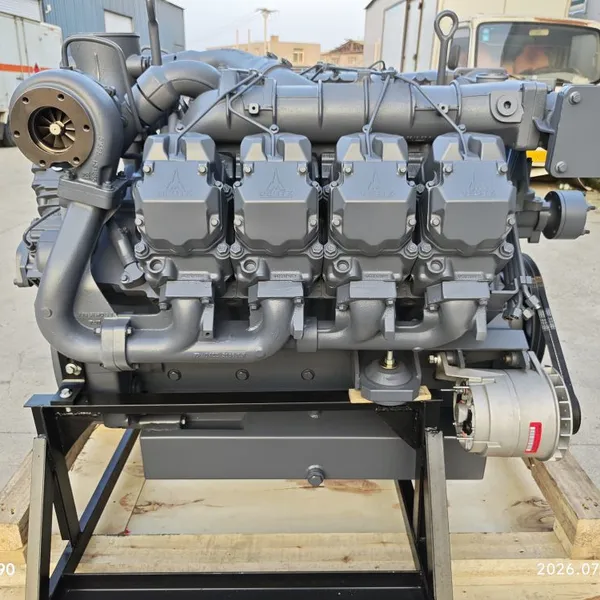 Read More

Contact Us
Recommended Products
-
 New 129 kW QSB6.7 Diesel Engine Excavator Construction Machinery Electric Start Water-Cooled Core Including Motor PumpUS$ 1888.00 - 3888.00MOQ: 1 Unit
 -
Wholesale Diesel Engine Genuine 4 Stroke Direct Injection Doosan DL08 Engine for SaleUS$ 4558.00 - 4800.00MOQ: 1 Unit
-
Factory Price DOOSAN DL06 Construction Machinery Motor 6 Cylinder 115kw Water-Cooled With Core Components Engine and PumpUS$ 4752.00 - 5000.00MOQ: 1 Unit
-
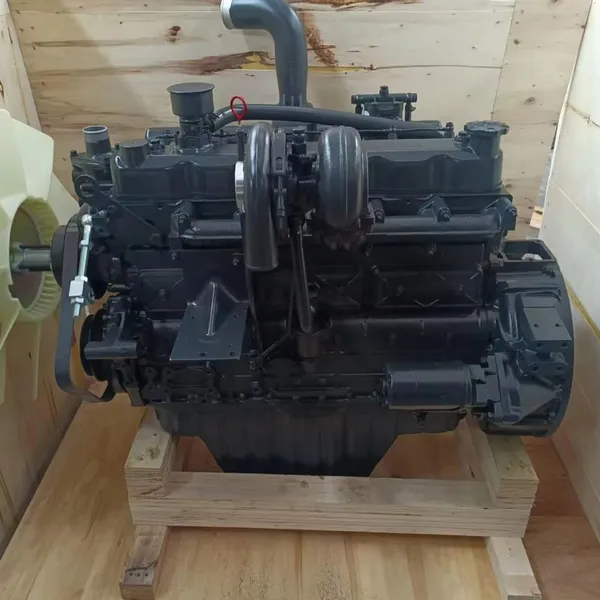
Factory Price 4 Stroke 115kw Doosan DB58 Complete Engine Assy for Dx220 ExcavatorUS$ 3450.00 - 3650.00MOQ: 1 Unit
-
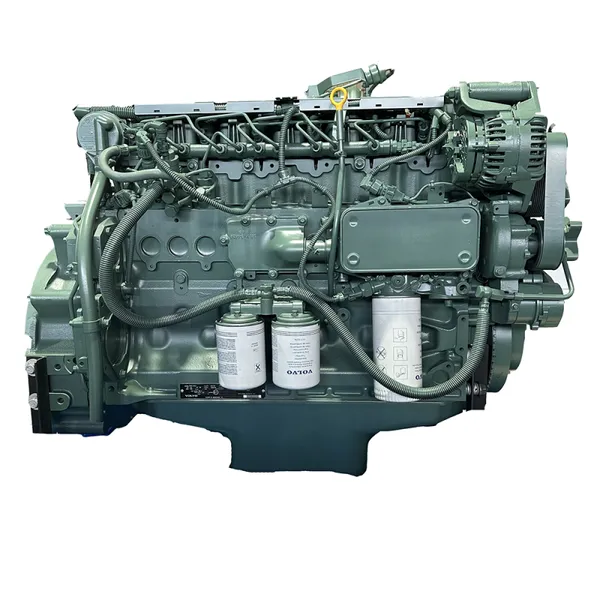
Factory Manufacture 123kw 4 Stroke Volvo D6e Machinery Engine for Construction MachineryUS$ 7500.00MOQ: 1 Unit
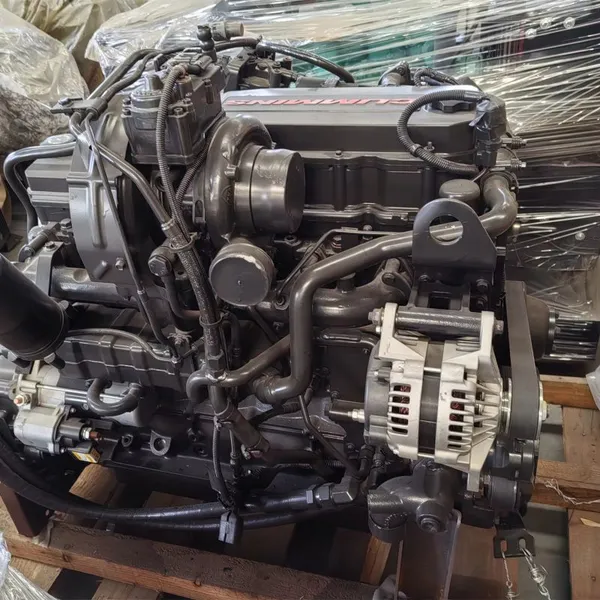
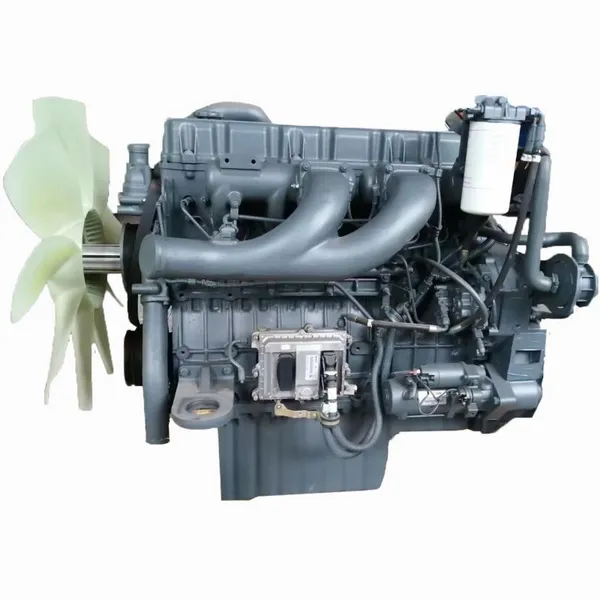
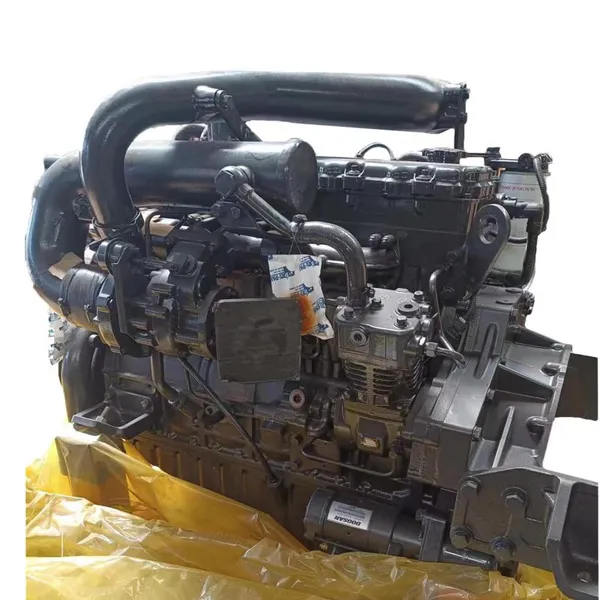
-
New BF6M2012C Cylinder 4-stroke Original Water-cooled Generator With Live Start FunctionUS$ 4500.00 - 5400.00MOQ: 1 Unit
-
Original Water Cooled 4 Stroke 6 Cylinder DEUTZ TCD2012062V Machinery EnginesUS$ 4888.00 - 5081.00MOQ: 1 Unit
-
Factory Outlet 6 Cylinder 250HP 2200rpm 6C8.3-C250 Construction Machinery Engines for CuminsUS$ 34627.00 - 36450.00MOQ: 1 Unit
-
1104D-44TA Diesel Engine 83kw New Water-Cooled Machine With Electric Start and Pump Good Price Per UnitUS$ 3700.00 - 4200.00MOQ: 1 Unit
-
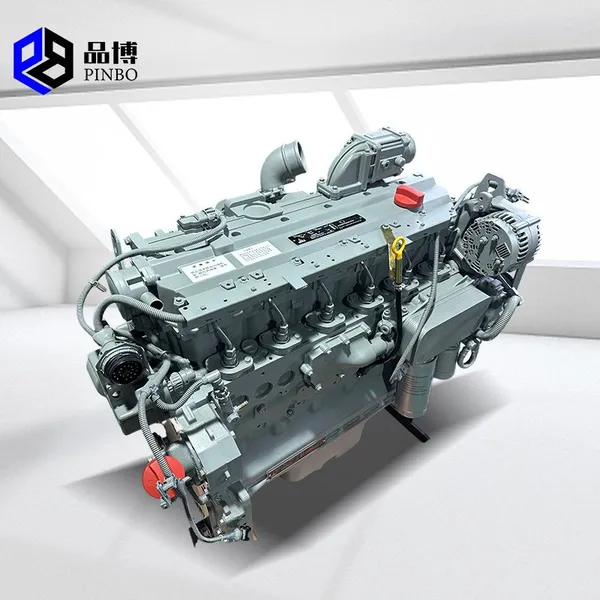
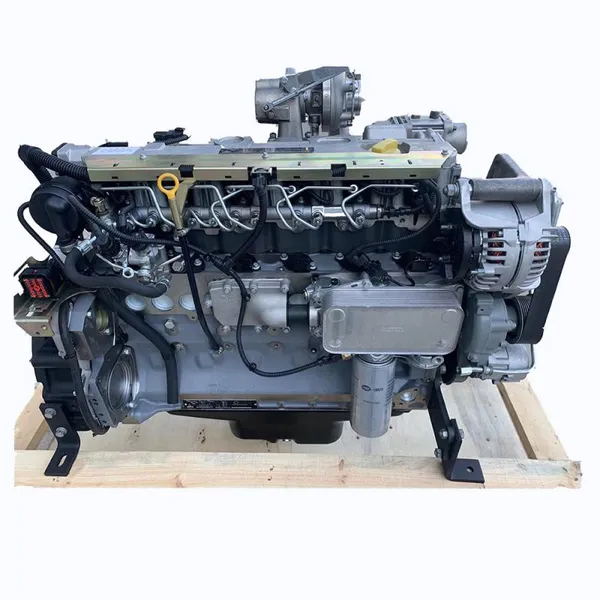
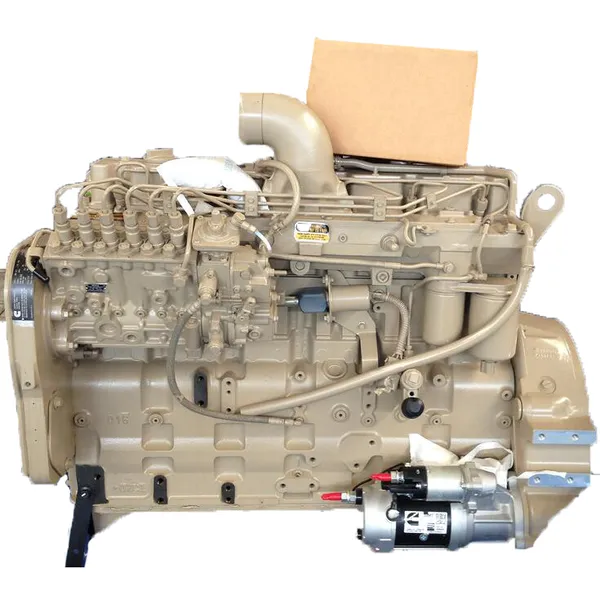
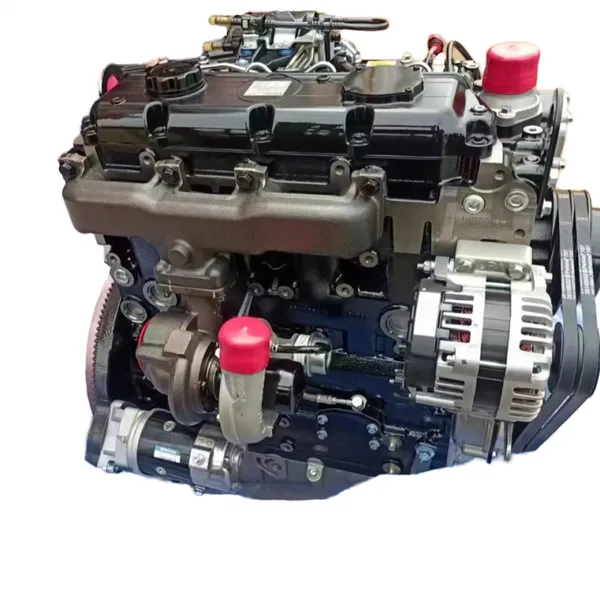
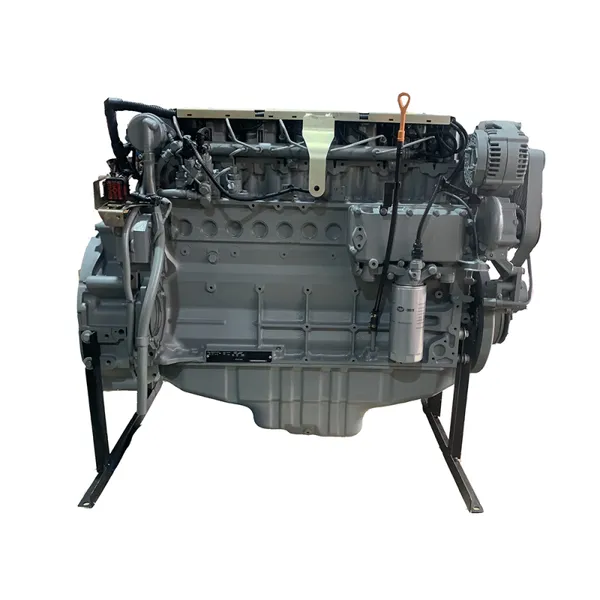
Original Water Cooled 4 Stroke DEUTZ TCD 2013 L06 2V Machinery Engines for SaleUS$ 7070.00 - 7443.00MOQ: 1 Unit
-
Excavator Engine Assy QSL8.9 Complete Engine Assembly CUMMINS Qsl 9 Diesel EngineUS$ 4300.00 - 4600.00MOQ: 1 Unit
-
Genuine Vovo D4d EAE2 Diesel Engine for VOLVO EC140 ExcavatorNegotiableMOQ: 1 Unit
-
Factory Outlet 6 Cylinder 250HP 2200rpm 6C8.3-C250 Construction Machinery Engines for CuminsUS$ 4700.00 - 5100.00MOQ: 1 Unit
-
Good Price 153kw 4 Stroke Electric Start D7E Diesel Engine for Construction MachineryUS$ 8350.00MOQ: 1 Unit
-
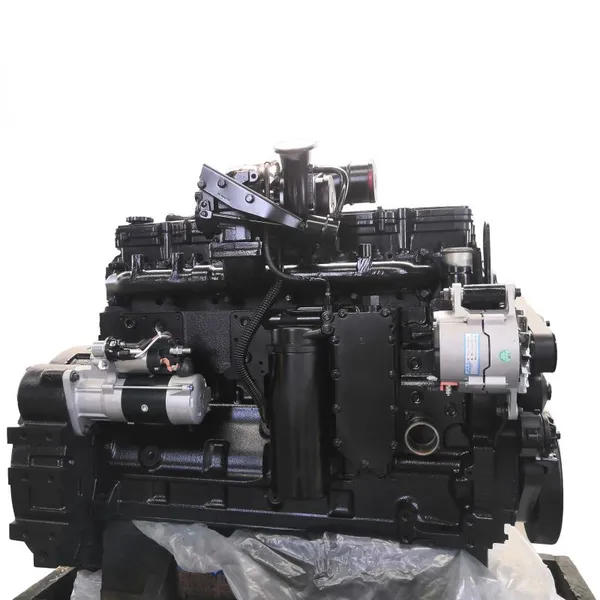
WEICHAI 178kw 4 Stroke WD10G240E203 Diesel Engine for SEM660D SEM660B Wheel LoaderUS$ 3920.00 - 4127.00MOQ: 1 Unit
-
Dongfeng Shanghai SC11CB220G2B1 6-Cylinder Diesel Engine 162kw (220hp) SDEC 3306 New Condition Core Included Farm MachineryUS$ 6500.00MOQ: 1 Unit
-
ISUZU 4 Cylinder Diesel Engine 4BG1 Machinery Engines for Kobelco SK135 ExcavatorUS$ 6800.00MOQ: 1 Unit
-
130Hp Diesel Engine YC4D130 Yuchai Diesel Motor Price for TruckUS$ 3400.00 - 3600.00MOQ: 1 Unit
-
Shanghai SDEC SC9D220G2 162KW Diesel Engine for SEM922 SEM921 GraderUS$ 5320.00 - 5600.00MOQ: 1 Unit
-
Factory Outlet Sinotruk D1242 Engine Assembly for Construction IndustryUS$ 4615.00 - 4858.00MOQ: 1 Unit